

You can have the perfect manicure right at home! And the best part is, it lasts 2-3 weeks! Doing your own gel manicure at home also saves hundreds of dollars that would have been spent at the salon.
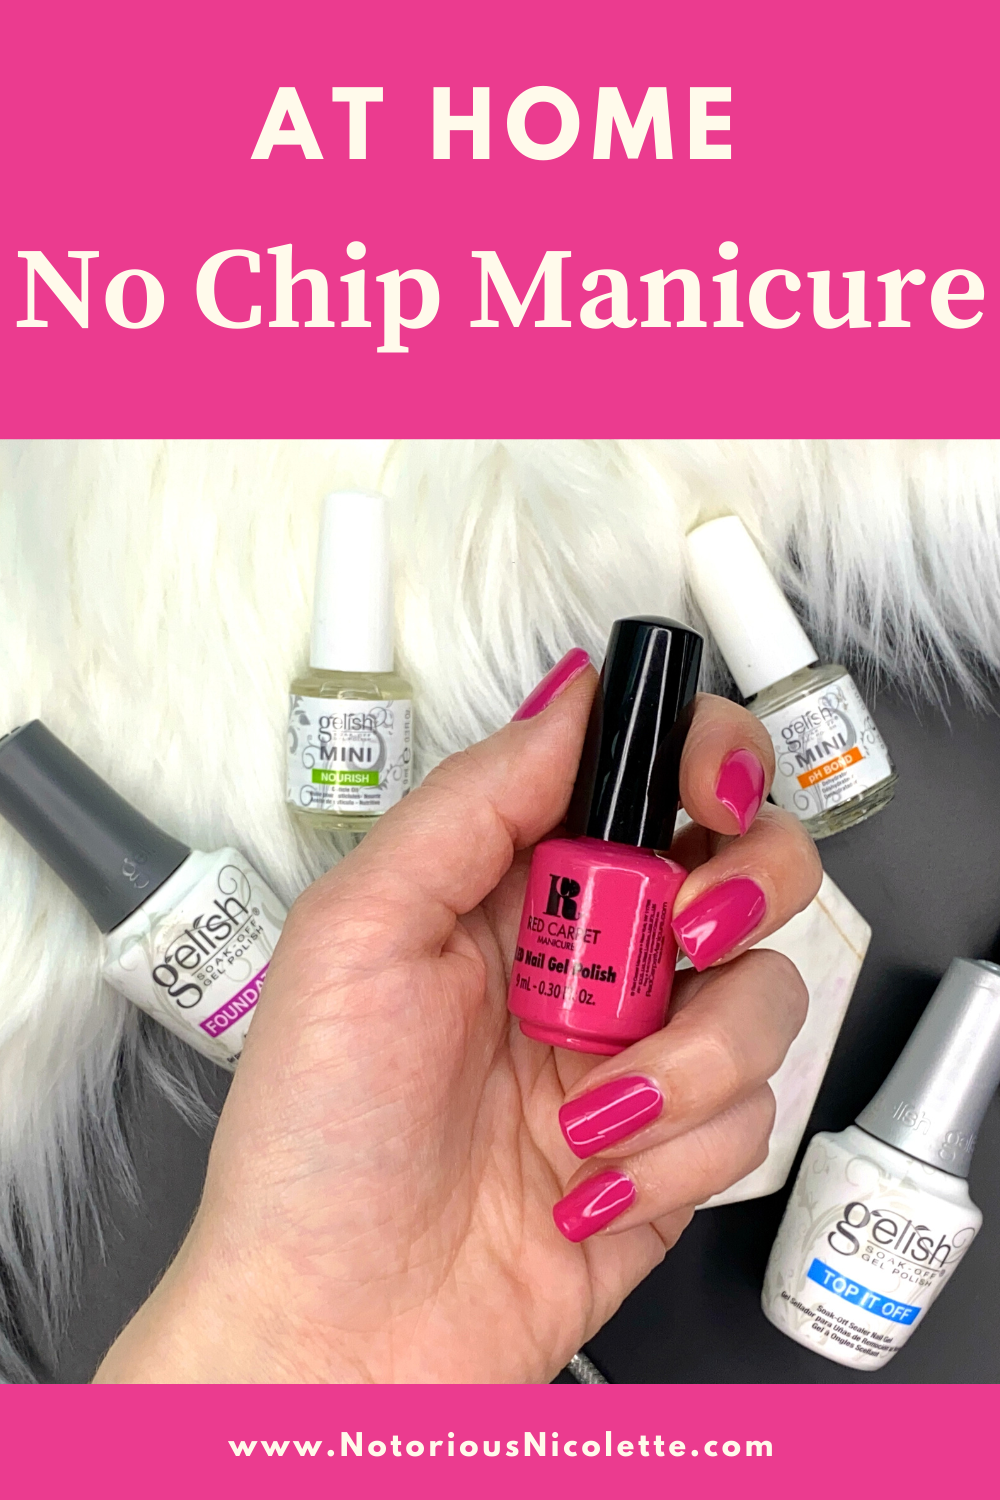
You will need:

Dehydrator
(You can also buy a whole kit HERE)
UV/LED light (The one I use)
Step 1: Remove Old Polish
If you need to remove old gel polish, I have a post on how to do that HERE

Step 2: Prep your nails
You can remove your cuticles, some people do and some don't...its a personal preference. If you do choose to, a cuticle remover liquid is helpful. Use the cuticle clipper to cut off the cuticles from your nail. Buff the tops of your nails with the buffer to take off a little bit of the top layer of your nail. File your nails and create the shape that you want.

Step 3: Rinse
Once done, wash your hands to remove any nail filings. They can cause bubbles under the gel polish if not removed.
Step 4: Dehydrator
Apply the PH Bond to help dry out of your nails.


Step 5: Base Coat
Apply a thin layer of the base coat gel polish onto your nails. Then cure it under your light ( the amount of time will depend on the type of light you have) The instructions on the base coat will tell you how long you need to leave it for. Since I have an LED light, I only have to let it cure for 5 seconds.


Step 6: Color
Apply a thin coat of your gel polish color on all nails and place under your light. If you get the polish on your skin use toothpicks to wipe it away. They key is not get any polish on your cuticles or they will start to peel a lot faster. Depends on the color, but usually I put two coats of color on. For some darker colors I apply three coats.

Step 7: Top Coat
Apply one layer of top coat and place under lamp.

Step 8: Remove Top Sticky Residue
Soak a cotton pad in rubbing alcohol and rub each nail. This will remove the sticky residue that is left on top of the nail
And you are done!


